Scope: specifically this article applies to UniMag Pro, UniMag2, Shuttle. The concept also applies to all audio jack readers.
Please refer to the confirmed devices list to find if the Android phone or tablet has already been confirmed.
http://www.idtechproducts.com/images/UniMagPro_SupportList_20161101.pdf
http://www.idtechproducts.com/images/UniMag2_SupportList_20161101.pdf
http://www.idtechproducts.com/images/Shuttle_SupportList_20161101.pdf
If the UniMag reader (UniMag Pro, UniMag II, or Shuttle) isn't currently supported, the auto-configuration tool for Android can attempt to find a matching profile.
Step-by-step guide:
*Before getting started, make sure there are no audio restrictions or effects enabled on the phone or tablet, and that media volume is not limited while a headset is attached. *
- Insert the reader
- Verify media volume may be adjusted freely during audio attachment
- Some devices may give a warning that listening at a high volume may damage hearing. Press "OK" if prompted as such.
- Some phones need to have the "Unlock Audio" setting changed in the sound menu.
- Certain devices may allow media volume to exceed this threshold, but won't give app control. Should this happen, try setting media volume to maximum manually at first.
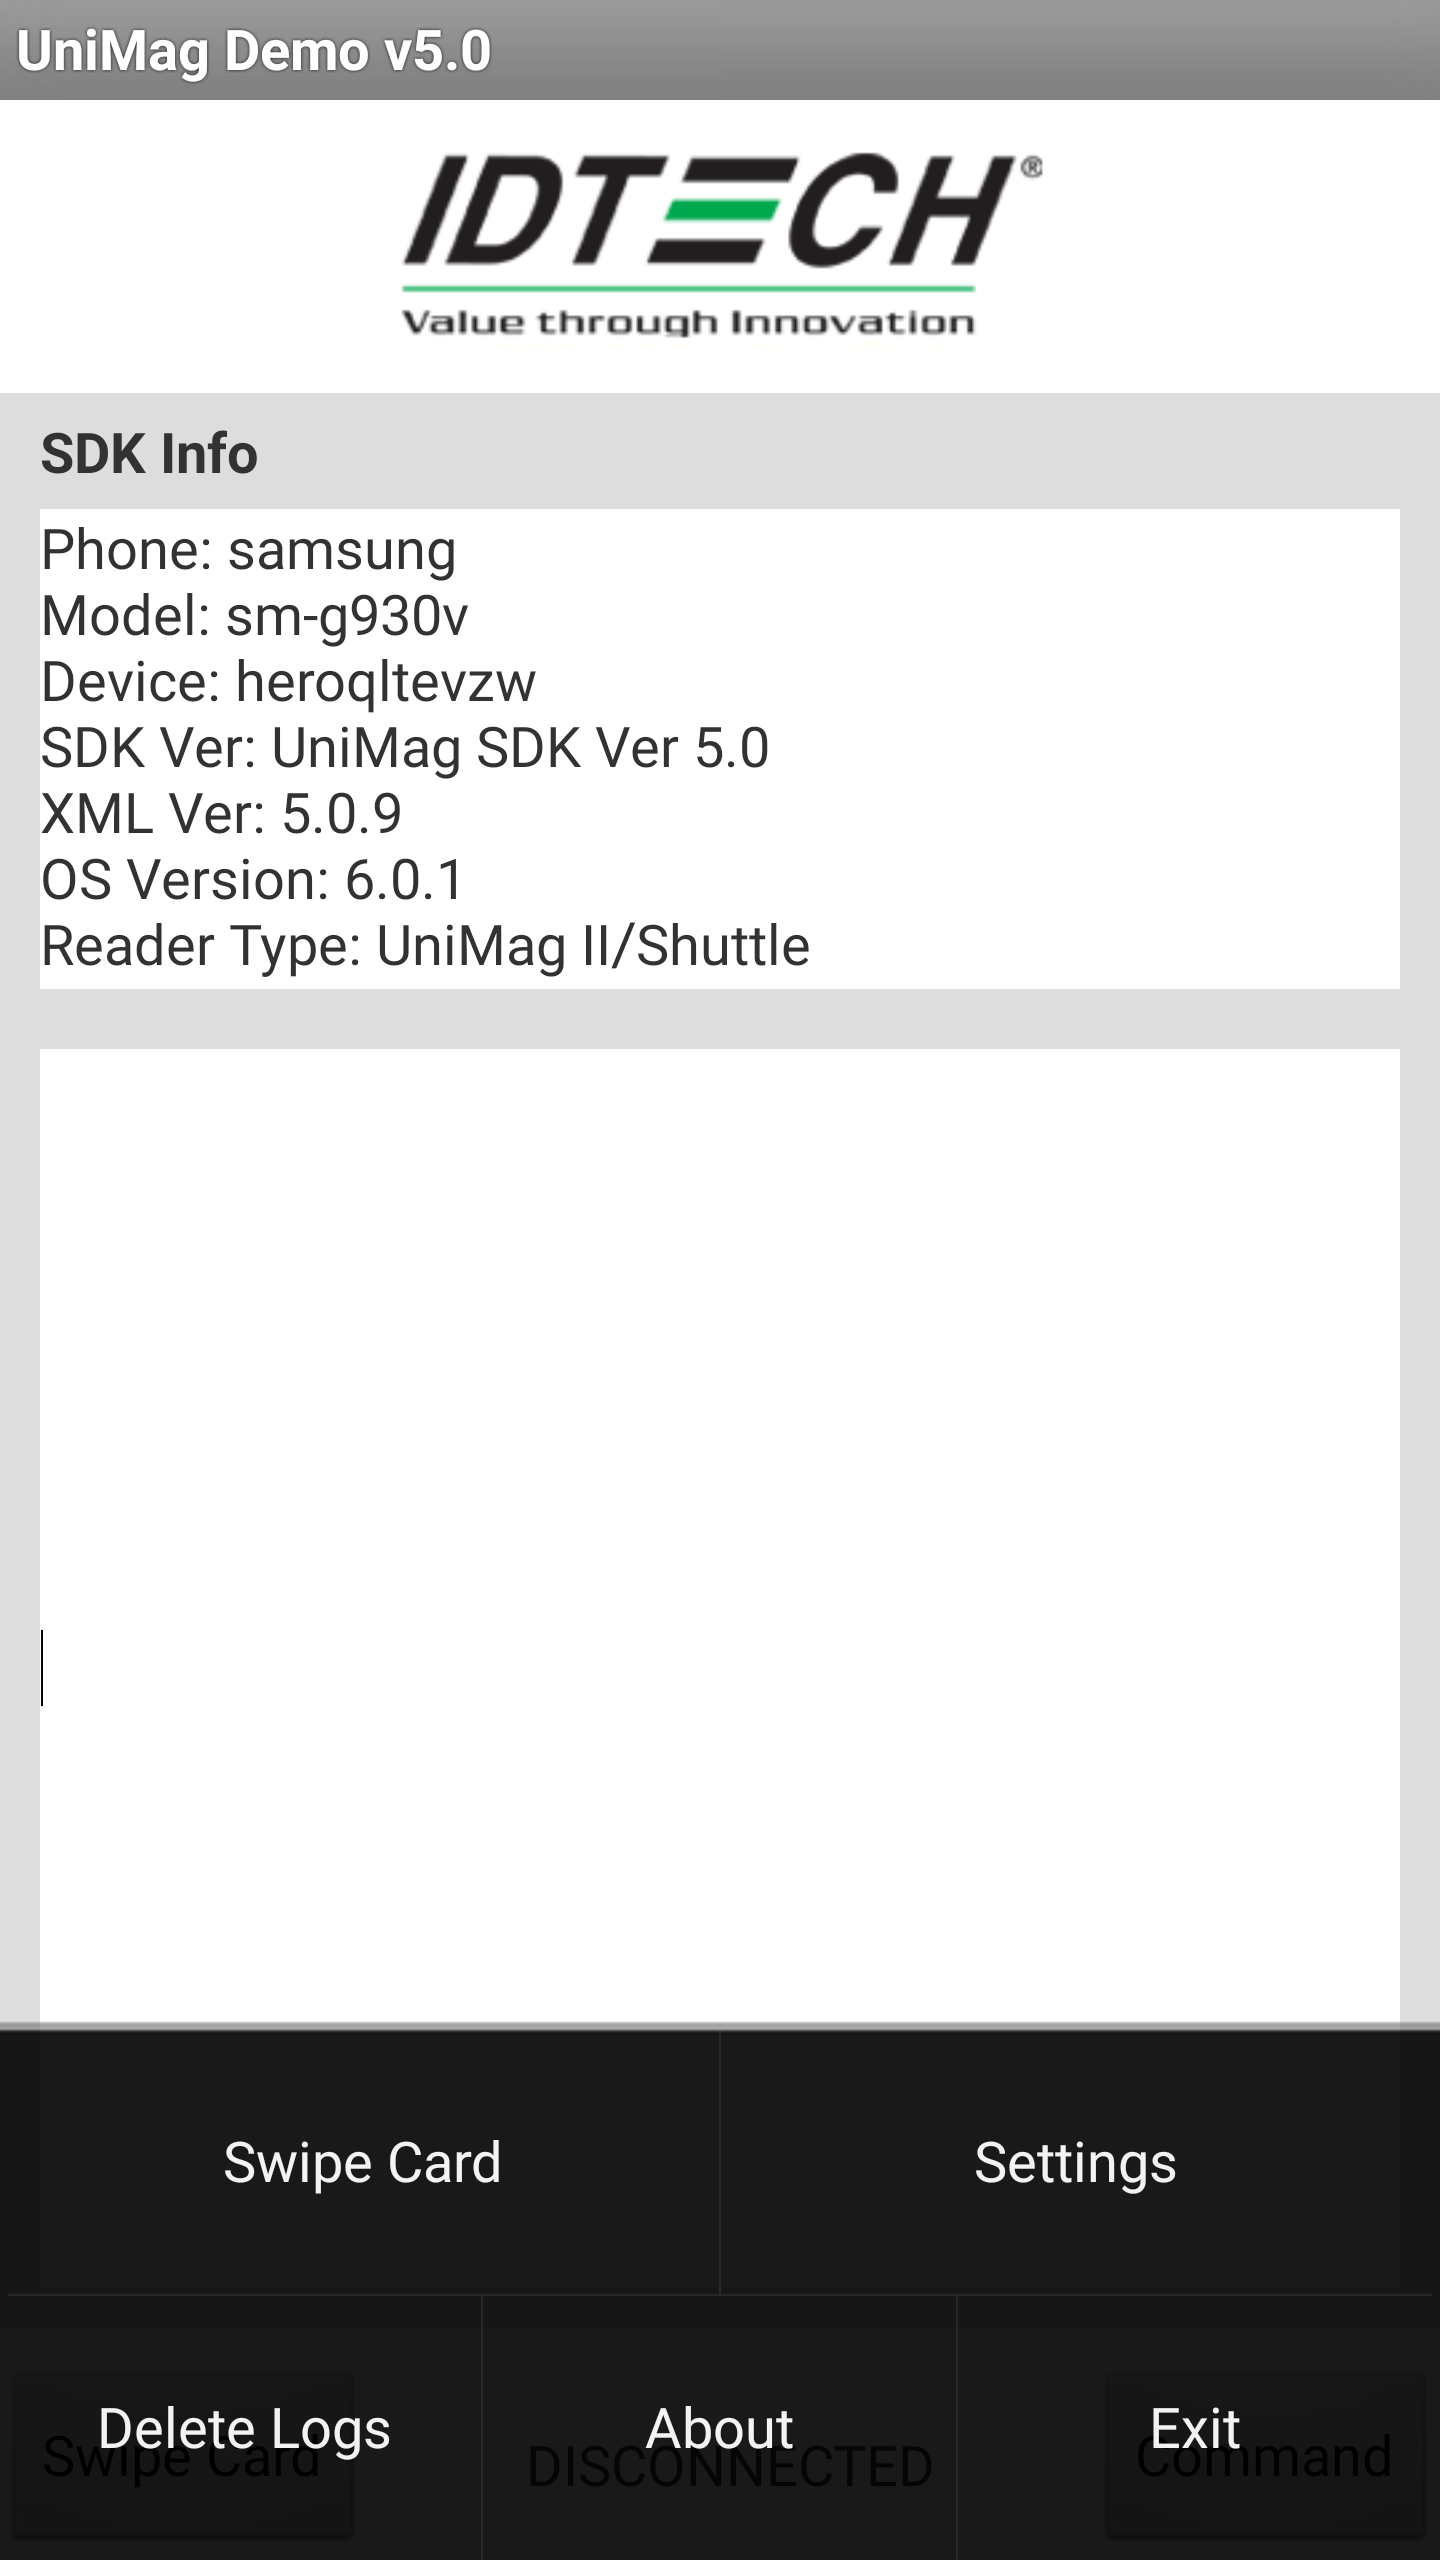
- Bring up the menu by pressing the Android menu button. The menu should look like so:
- If the menu button is not present on screen/panel as an icon with three dots or dashes, try pressing and holding one of the panel buttons aside from Home.
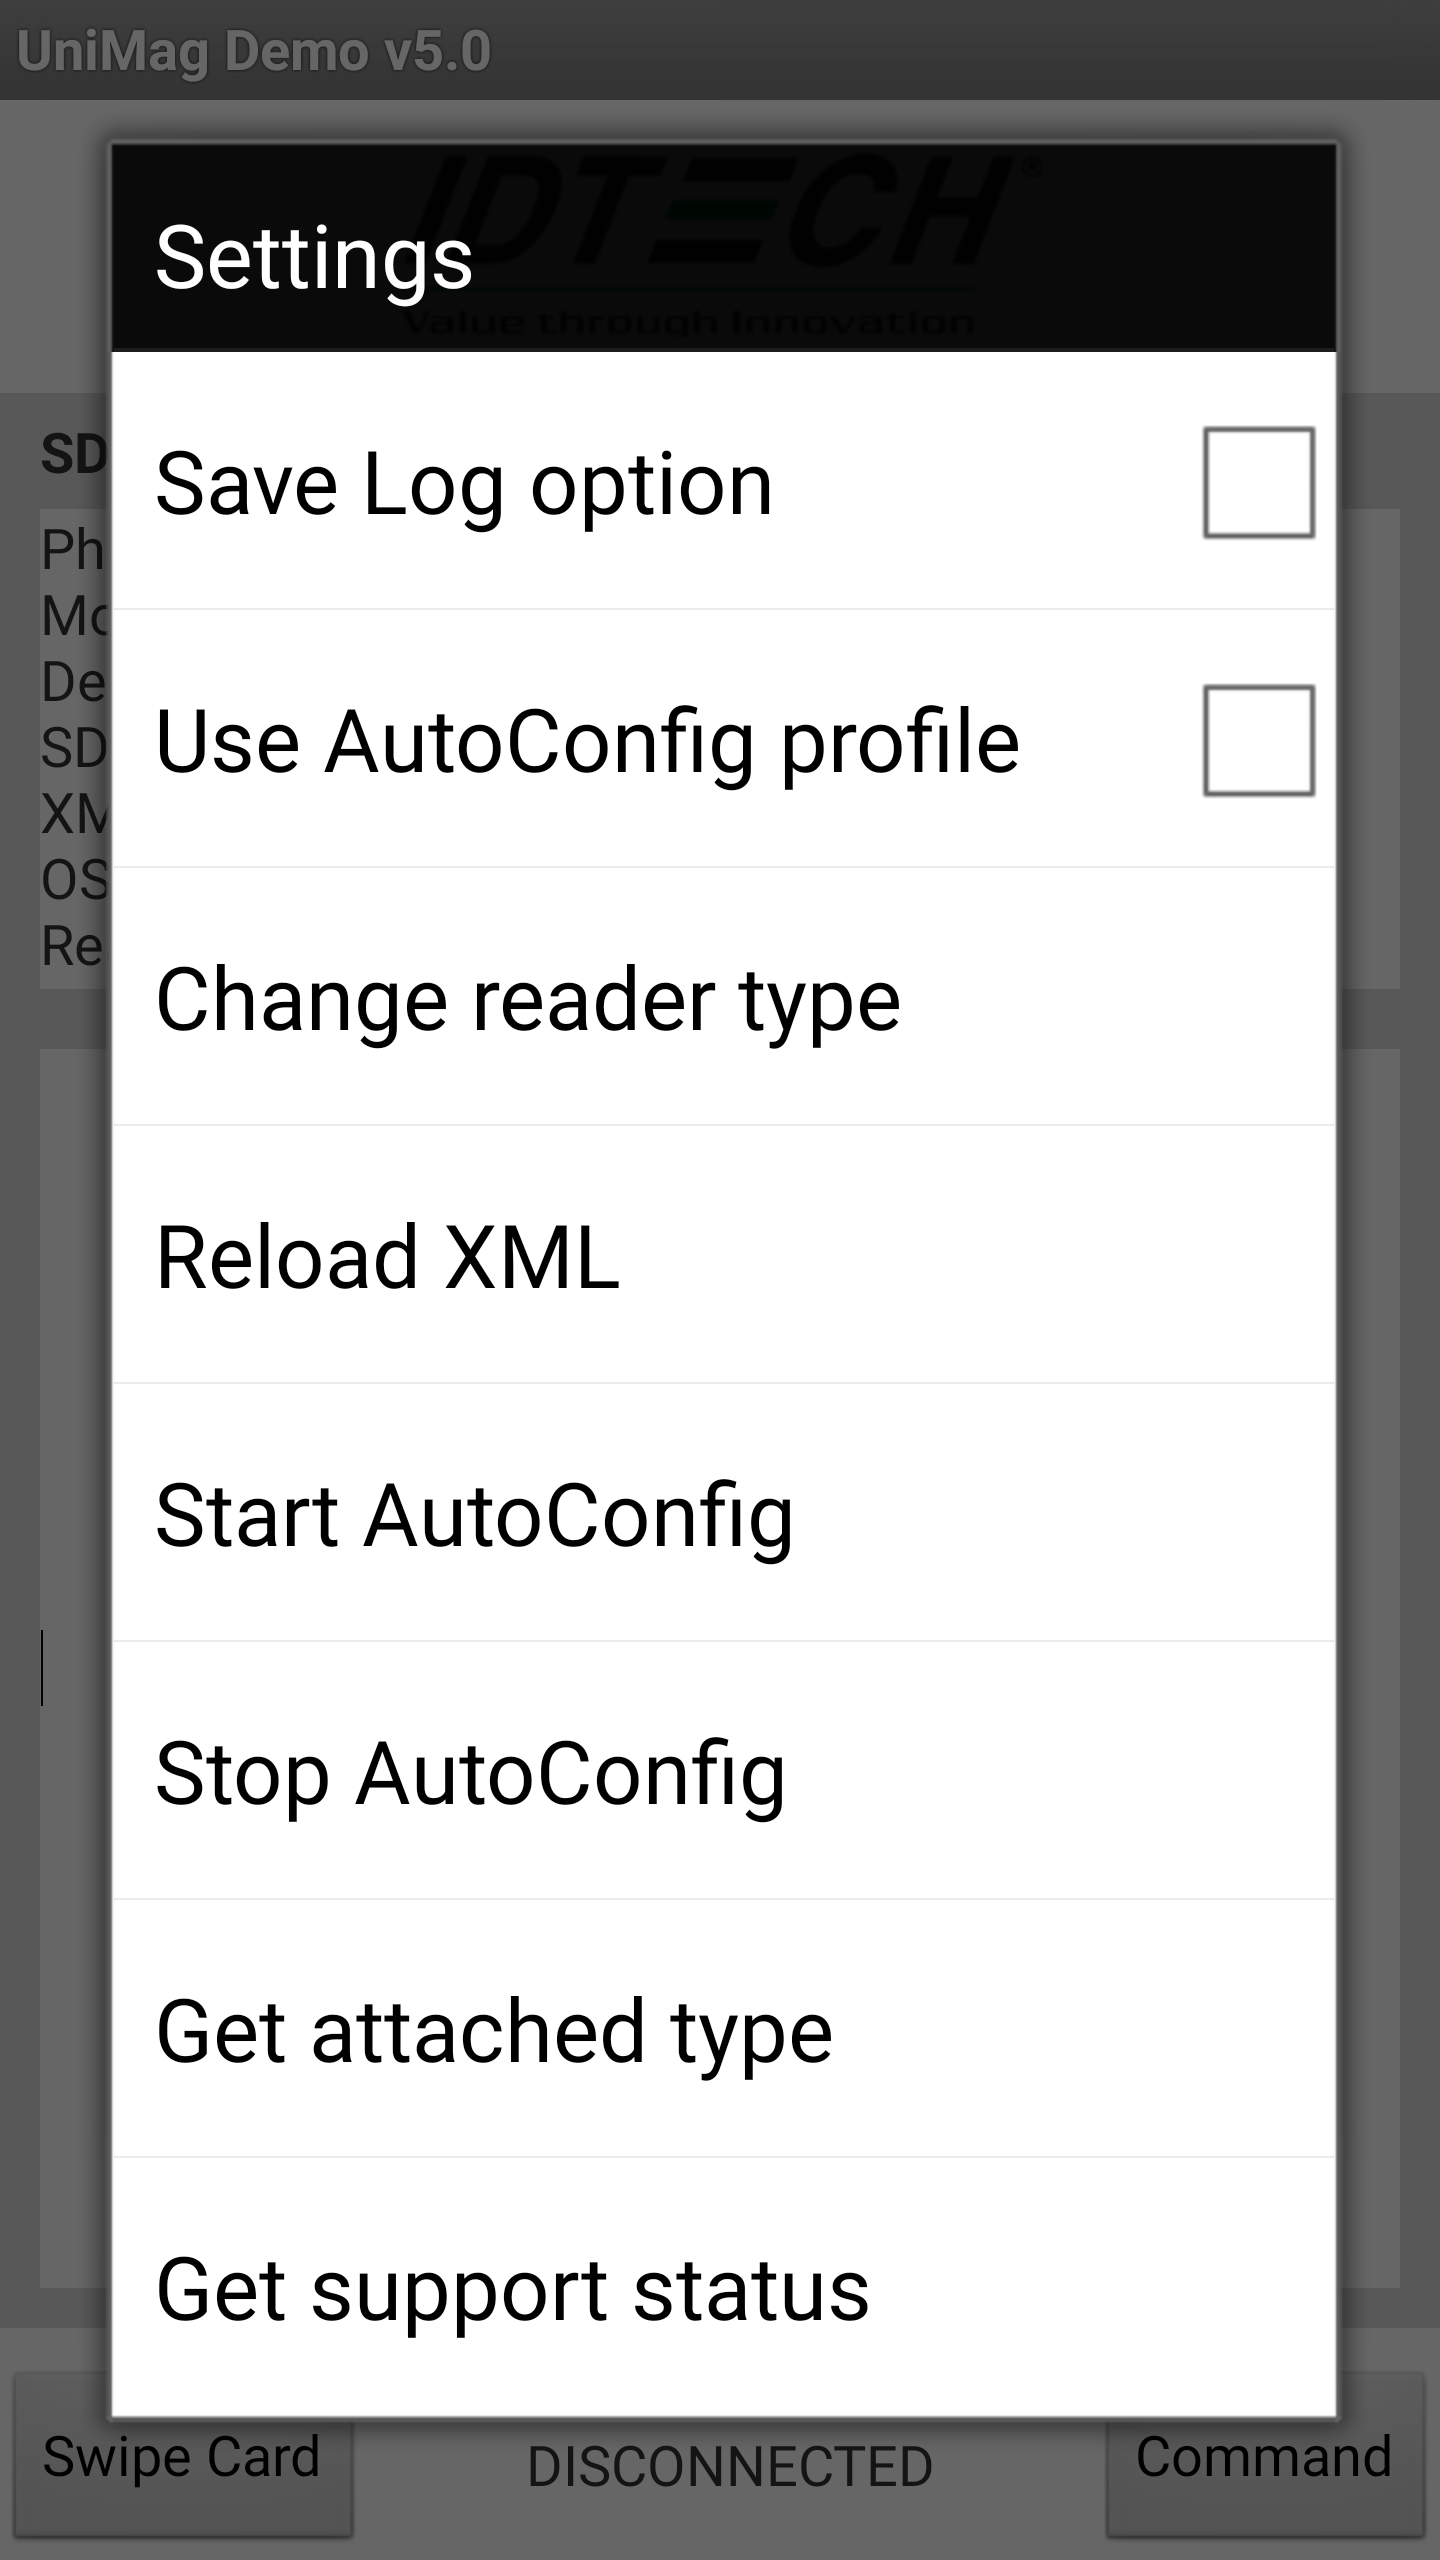
- Press Settings:
- Press "Start AutoConfig". The tool will try to get the reader connected. Many devices can get working in short order, but it can take few minutes to complete.
- While Auto Config is running, take care not to adjust or disrupt the volume/reader.
- If Auto Config fails on the first try, please try again.
Related articles

